How did you shoot that picture?

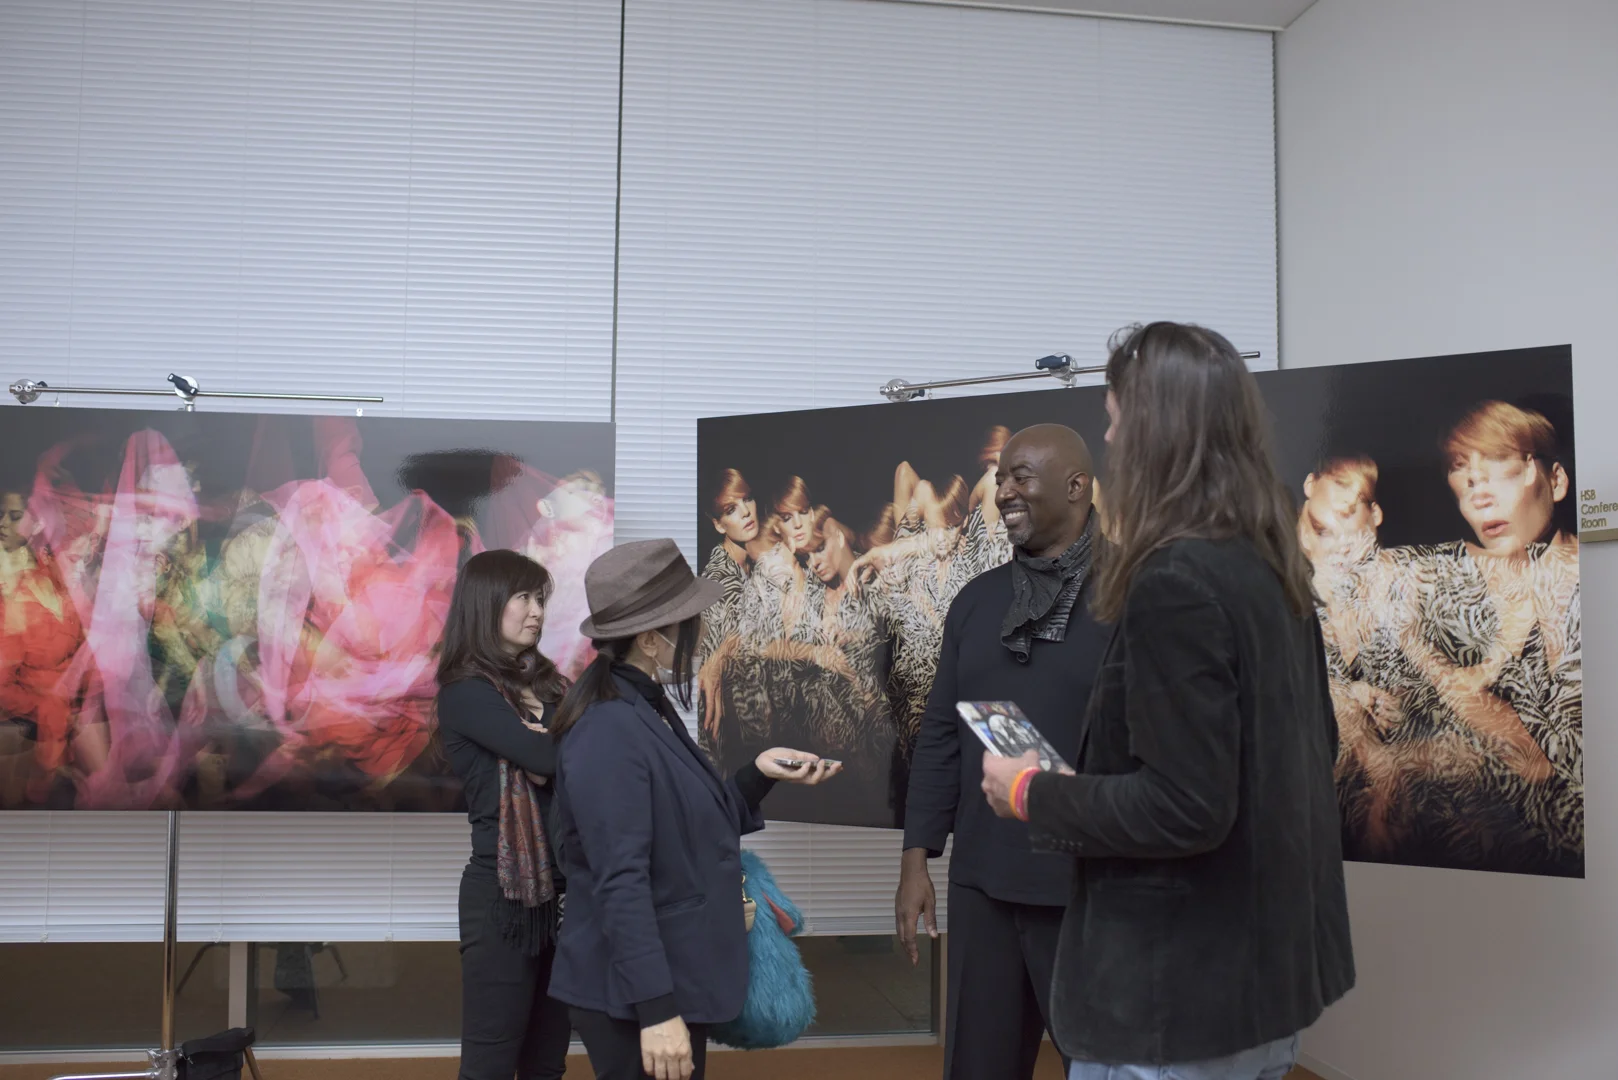
For years people have asked me "how did you shoot that images?" Sometimes the question is in reference to the camera, and sometimes it is about the light, but rarely does anyone go deeper into the question to get the essence of creating an images.

Vanessa Williams_pretty in pink.jpg

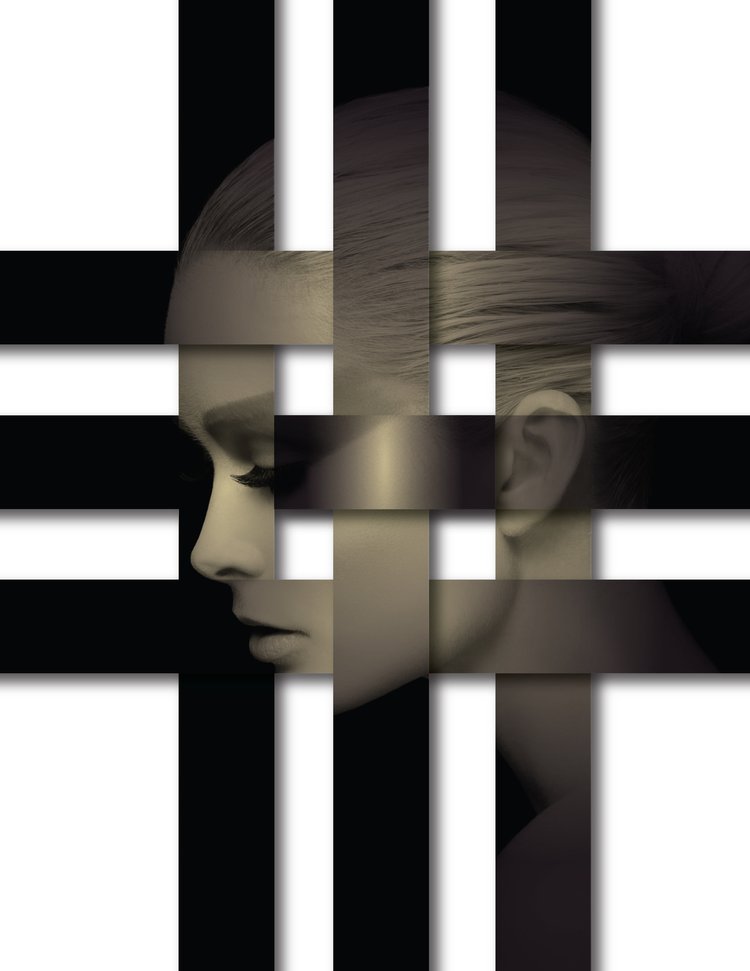
In regard to lighting, this images was created using Kino flo lights, but the magic is know when to use specific light and the quality each type of light has. Working as a photo assistant taught me how to do a lot of different things with light, but one of the most important things was learning which type of light to use to achieve a specific look.

If you'd like to know more about using lights fill out my one question survey on lighting by clicking the link below.

Link: Lighting Survey


Always dream big

In the rain

A few weeks ago I shot a time-lapse of people walking in the rain from one of the busiest subway stations in Tokyo. I wrote about this earlier but didn't include the video. This was shot the old fashion way with the Nikon 810 camea and a 35mm lens and produced with Quicktime 7 Pro.


You never know

It's funny how things come up once you put them out there. I'm now back in Los Angeles and the first call I get upon landing is to produce a shoot that includes shooting time-lapse images. My client wanted to see examples of some I've done so I sent the most recent time-lapse movie I just completed a few days ago in Tokyo.

Build it and they will come.


Always Dream Big

An easy way to make time-lapse movies

I used to go through a lot to create time lapse movies. I had to use an intervalometer, download the images into QuickTime 7 and play with my settings to get just the look I wanted. Since I made the switch to Nikon it is now super simple and my 810 camera does all the work for me.

Today after a morning meeting with a potential client I took the time to go to one of the busiest subway stations in Tokyo and create a series of time lapse videos.


I have always believed the best  time lapse videos are achieved with a bit of blur to show motion. To show motion  I set my camera to shoot at the slowest shutter speed possible which was 1/ 25th of a second under my lighting conditions.  I set my ISO to 64, and set my aperture to F 16 which gave me a shutter speed of 1/25. This also gave me a lot of depth of field which was just what I wanted. Here are a few examples of the results.

Making these time-lapse videos was simple. Using my Nikon 810 camera, I turned on the time-lapse feature in my camera, set the time between images and the amount of time I wanted to record the scene. I shot one image per second for six to eight min to create these videos. Once the camera is set you only need to press start and the camera shoots the images and creates the video right away to view on the spot.

Always dream big!

What every photographer wants to know

Last week I spoke in Tokyo and had a mini-exhibit. After the event some photographer waited around to ask questions. 

It seems every one has the same questions all over the world when it comes to photography, so I put a list together to help answer some of the questions people had. You can get the list here by clicking this link: RESOURCE GUIDE FOR PHOTOGRAPHERS

I"m headed to my final meeting now in Tokyo about doing a shoot in the New Year, then off to Shibuya to shoot a time-lapse for tomorrow's blog.


The Perfect Camera Bag

Are you happy with your current camera cases or bags? This week my podcast (Master Your Lens) touched on one of the 10 tools that photographers need to take better pictures.  # 10 on the list is camera bags because you can't concentrate on getting great pictures when you are worried about your camera gear how you will carry it.

The last few weeks I've been traveling all over, from South Carolina to visit my family to Tokyo, Japan to speak and have an exhibit. I've used my Lowepro backpack on all of the recent travel and it has been great on these trips. In the past I've had a problem finding a backpack that allowed me to include my laptop and ipad when I travel, something that is always a must for me. My current backpack, the fastpack BP 250 gives me everything I need to be able to travel and carry my gear. 

The other day, I did a hike up to the top of Tokyo's Mt. Takao with all my gear.  I wanted to get a view of Mt. Fuji, but the sun was too bright and you couldn't see it.  I was hoping to get a decent view before it was too late because you don't want to hike down the mountain in the dark. I was about to give up when I saw a cloud start to move toward the sun and it gave me a brief window that allowed me to photograph Mt. Fuji in a beautiful way. 

Photographed with Nikon 810 and the 35mm 1.4 lens

Photographed with Nikon 810 and the 35mm 1.4 lens

Patience paid off this time and I got my shot. I was still hiking down in the dark, which is another story for another time, but it was worth it to get my first images of Mt. Fuji.

To get the list of 10 tools click here:

Always dream big.


How to use a light meter

One of the first things my assistants do on set before we start shooting is take light meter readings. We always do a series of meter readings so we know exactly where the light is falling on our subject and where it falls off. 

Whenever I have a new person on set, we make sure they know the importance of doing meter readings not only during the start of a photo shoot, but during the entire process. If I could point out one mistake I see often it would be someone assuming that the nothing has changed during a photo shoot and not using a meter thoughout the photo shoot. 

If you want to improve your images make sure to use a light meter and use it often during your photo shoots.

Check out the top five tools to use in studio

Link: Top Five Tools


Always dream big!

My Top Studio Tools

We all have our favorite tools that we use for creating photographs. I am often asked what I use in the studio so this week I will concentrate on sharing the gear I use. Today I'm  giving away a resource guide of my top studio tools with links on where you can get them for yourself.

To get your FREE guide download the file here. 

Link: FREE RESOURCE GUIDE


A day on set

A day on set


Have you seen the light meter app?

Today I received a question related to shooting a 10 page fashion story and having a consistent exposure in all the images. In the question the person said they were shooting outside and because the sun changed throughout the day, the exposure was inconsistent.

My answer to this question is to use a hand-held light meter, or the light meter app if you have an iphone. Surprisingly, the light meter app for iPhone is very reliable and even gives you the color temperature. We have tested the app beside my high-end meter and it has read almost the same. It does not work as a flash meter, but it is perfect for shooting pictures outside.

To have consistently beautiful images get into the habit of always using a light meter. This way your images will have a consistent exposure and your time editing will be greatly reduced. More on light meters in a future post. 

This weeks podcast will discuss using light meters in more detail and make sure to tune in for the free giveaway. A new episode of the Master Your Lens podcast is available every Wednesday morning in the itunes store.


Always dream big!


American Crime Story and Birthday's

Today will be a hectic day, but it seems every day is these days. Today is the 9th birthday of a good friends son and I'm going to the bday party...on a yacht.

After sailing around Los Angeles I'll zip to Hollywood for the wrap party of American Crime Story and photograph the cast and crew. 

Images like the photographs I'll make today are always fun, but they become more precious with time. I'm curious how people will show up for the wrap party since it's the night before Halloween.

The weekend will be full of photo shoots as well and I"m not sure when I'll get to sleep, but the holidays are now right around the corner. Stay tuned for something special coming up just for photographers.


Always dream big!

Who's your hero?

Lsat week I spoke on the subject of having a "hero" in your photographs. I believe every successful picture has a hero, or a  theme, character or feeling that brings an image to life. I like to call it my hero.

Creating images with this in mind helps you focus on making powerful images vs just taking a picture. The great thing about finding your hero in each image is that there is no right or wrong way to select your hero. It's totally up to you and based off of how you feel. 

If you want to stand out as a photographer practice finding your hero every time you shoot.


Always dream big!


Survey says...

Fill out my online form.
Use Wufoo integrations and get your data to your favorite apps.

Back to the...

Today, it seems like I am reliving the past as I wake up in New York City. It is Photo Expo week and NewYork is alive as busy as ever. The familiar sounds of sirens are all around me day and night and riding the subway here make me feel like I never left. 

I found myself comparing the subways in New York to the Subways in Tokyo last night. Both are always packed, but the glaring difference is that in New York you can always hear people talking to each other and making connections.

As I rode the subway last night I saw a woman with my old Lowepro roller bag and knew she must be a photographer. I told her I used to have the same case but just upgraded to the new Echelon line and we fell into a conversation about camera bags. 

One of the things I love about New York and Tokyo  is how people interact with each other. You find this in most big cities, but you don't have this in Los Angeles. My time in L.A. is coming to a close. I feel so inspired whenever walking around in a big city and yearning to have that every day again.

Time to walk the city!

What's inside your bag?

A few months ago I did a post about my gear but didn't mention the bags that hold my gear. With the amount of travel I've done over the years I thought it was time to upgrade to the latest and greatest.

I have always used Lowepro roller cases, backpacks and shoulder bags for my gear because they are durable and dependable. The roller I've had over 20 years is still in amazing shape but  this year I thought it was time to upgrade all my cases. The Echelon series by Lowepro is better than ever and I'm taking my gear on its first trip to New York today. If you'll be in New York for Photo Plus check out Lowepro and the new Echelon series. The roller case is really incredible along with the shoulder bag and backpack.


I will be speaking for Nikon this week, so come by and say hi. In my off time I'll be walking the streets of New York with large Sandisk media cards in my Nikon and photographing the city day and night. I hope to see you soon!


Always dream big!

I'll be in New York next week. Join me!

Time flies by so fast. Last week this time we were on the edge of funding our Kickstarter or not funding it but thank God we made it. 

Next week I will be in New York City speaking for Nikon during Photo Plus Expo.  Come by and say hi. I will speak each day  at 12:30 pm!


Oh, by the way, to celebrate the Kickstarter making our goal we are giving away a FREE video. To get your free video go to MatthewJordanSmith.com/FREE


Always dream big,

Mattehw

On Set

A lot of hard work goes into creating a great picture, It's more than just learning about a camera, fstops, shutter speed and lights. The most important parts are the things you can't see.

This afternoon, I will speak at Santa Monica College in Los Angeles, California. and then next week I will speak at Photo Expo in New York City. In November I will teach a workshop in Tokyo, and then finally we will end they year with the Master Your Lens photography workshop in Los Angeles. The workshop in Los Angeles is now open for enrollment. Early bird registration ends Saturday the 24th of October, so sign up today to reserve your seat.

Always dream big