photo tips

4 Photography Mistakes And How to Avoid Them - Day 3

Earlier this year I was speaking at a photo convention in Japan. There were several photographers speaking and the day before the convention started we had a rehearsal session. I watched as one photographer set up to do a live photo shoot. He set up his lights, took a photo, then looked at the back of his camera to see if the exposure was right. He did this for about 15 minutes trying to figure out the right exposure until he finally got close but it was still off a bit.

4 Photography Mistakes And How To Avoid Them - Day 3


# 3: I can just use the histograms or the camera display to judge my exposure

We have all done it before so don't feel bad. I mean, it's easy to look at the display on the back of your camera and think the exposure is correct, but judging your pictures this way can lead to big disappointments. Especially if you are trying to look at your camera display while shooting outside on a bright sunny day. 

The histograms give you a better view on what is correct in terms of exposure but it is still not enough information I believe. To avoid making exposure mistakes discover how to use a light meter. A light meter will never lead you wrong. Remember, numbers don't lie, but your camera display can and will fool you at times.

To learn more about light and photography, join me today for the FREE webinar/master class which take place this Tuesday, November 1st starting  at 10:00 a.m. PST 

Register here - Master Class: How Photographic Lighting Can Increase Your Income In 90 Days

Time: 10:00 a.m. PST (California) / 1:00 p.m. EST (New York)


Always dream big,


Matthew

Training Part II

On Tuesday, we released the first FREE training video of a 3-part photography training series. At the time of this writing, almost 500 people have watched video # 1 and we hope the video reaches more as the week goes on.

Today, we are releasing training video # 2 and hope to help photographers by sharing some of the mistakes I made at the start of my career. To watch both training sessions you need to sign up for the series. AS soon as you sign up you get instant access to the series.

SIGN UP HERE

Always dream big,

Matthew

Seven Photo Tips: The Step-by-Step Way To Create Amazing Pictures

Sometimes, the first step is the most difficult one to take when it comes to getting started in photography. Here are seven steps to help guide you through your journey in creating amazing pictures.

Step 1: The Idea

Everything starts with a big idea. As soon as the idea comes write it down right away. Computers and other devices are great, but I prefer putting pen to paper. Maybe I'm old fashion but this seems to work the best for me. Give it a try and see how it works for you. Start with the idea and define it by writing it down. 

Step 2: Research

Today, it's easier than ever before to do research. I used to keep countless books of tear sheets from old magazines as research material, but today, we have Pinterest to make our lives easier Use Pinterest to make inspirations boards and do conduct your research.  After you write down your idea, dive into research. 

Step 3: The Sketch

I'm no Picasso, but I am a visual person. Sketching out my ideas after doing the research has always helped me in visualizing how I will bring my vision to life. In advertising assignments, one of the first things clients send sketches or some type of visual board. The sketch helps you see things in a clear way and visualize the image for the first time in a tangible manner. It also helps me when you need to share your idea with your team. I can share an idea with my team but they may have a different visual in their mind. When I show and tell it helps my team come together as a unit to bring the vision to life.

Step 4:  Pre-Production

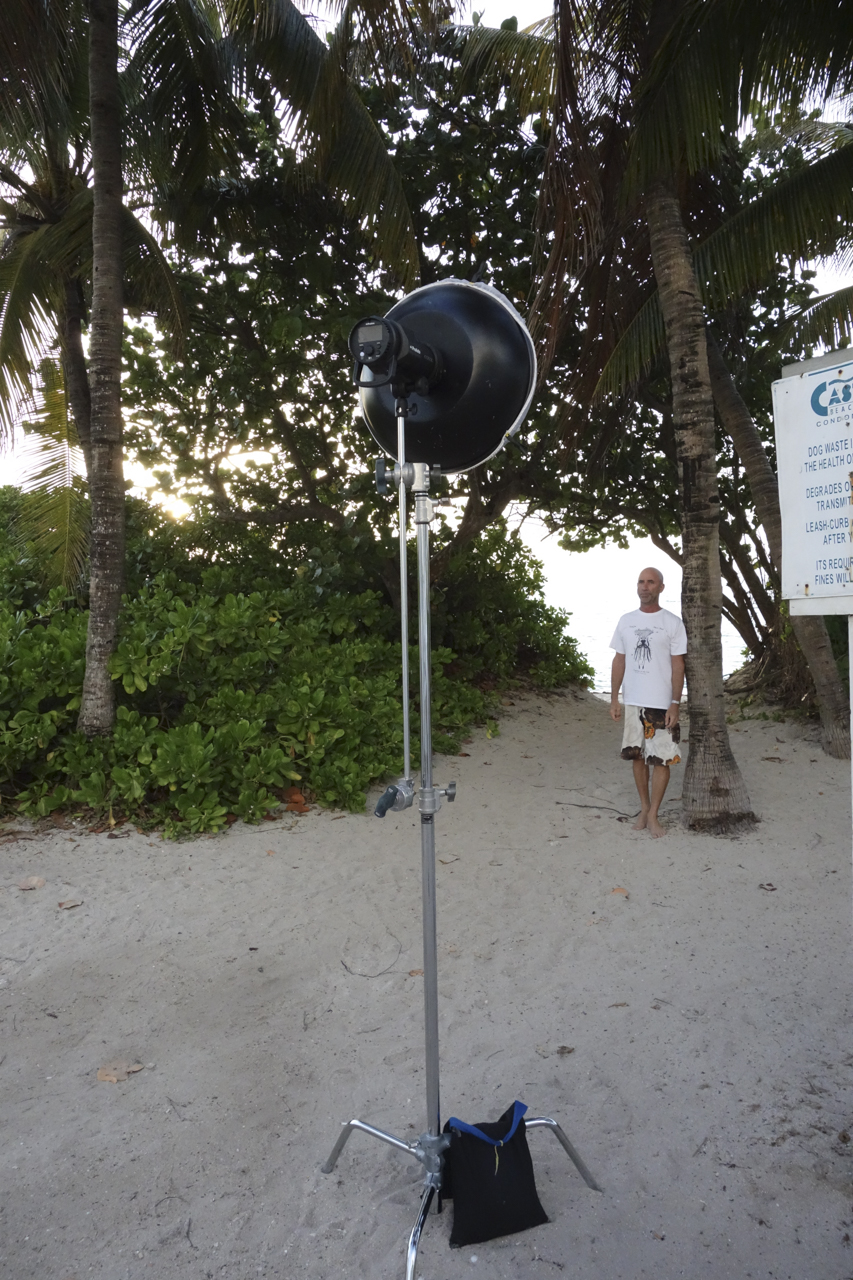
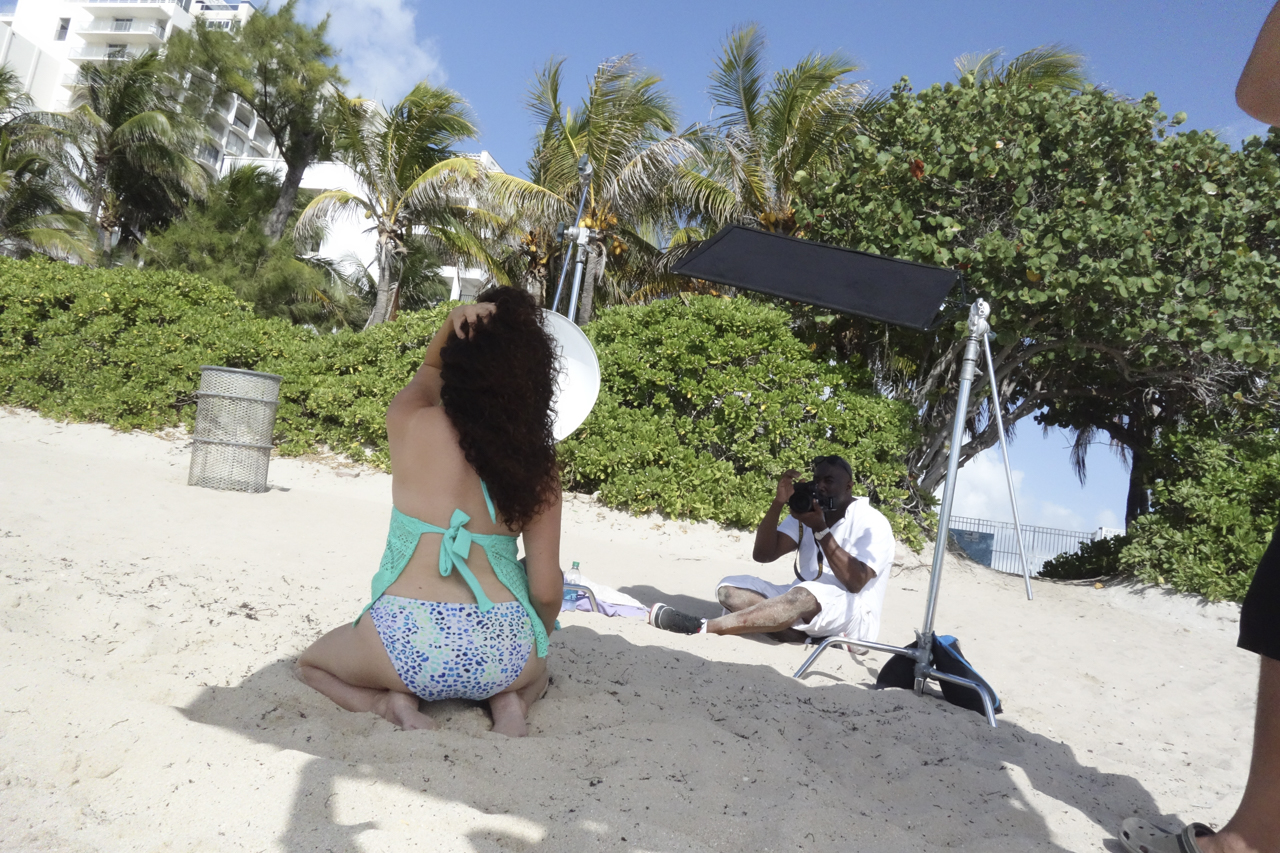
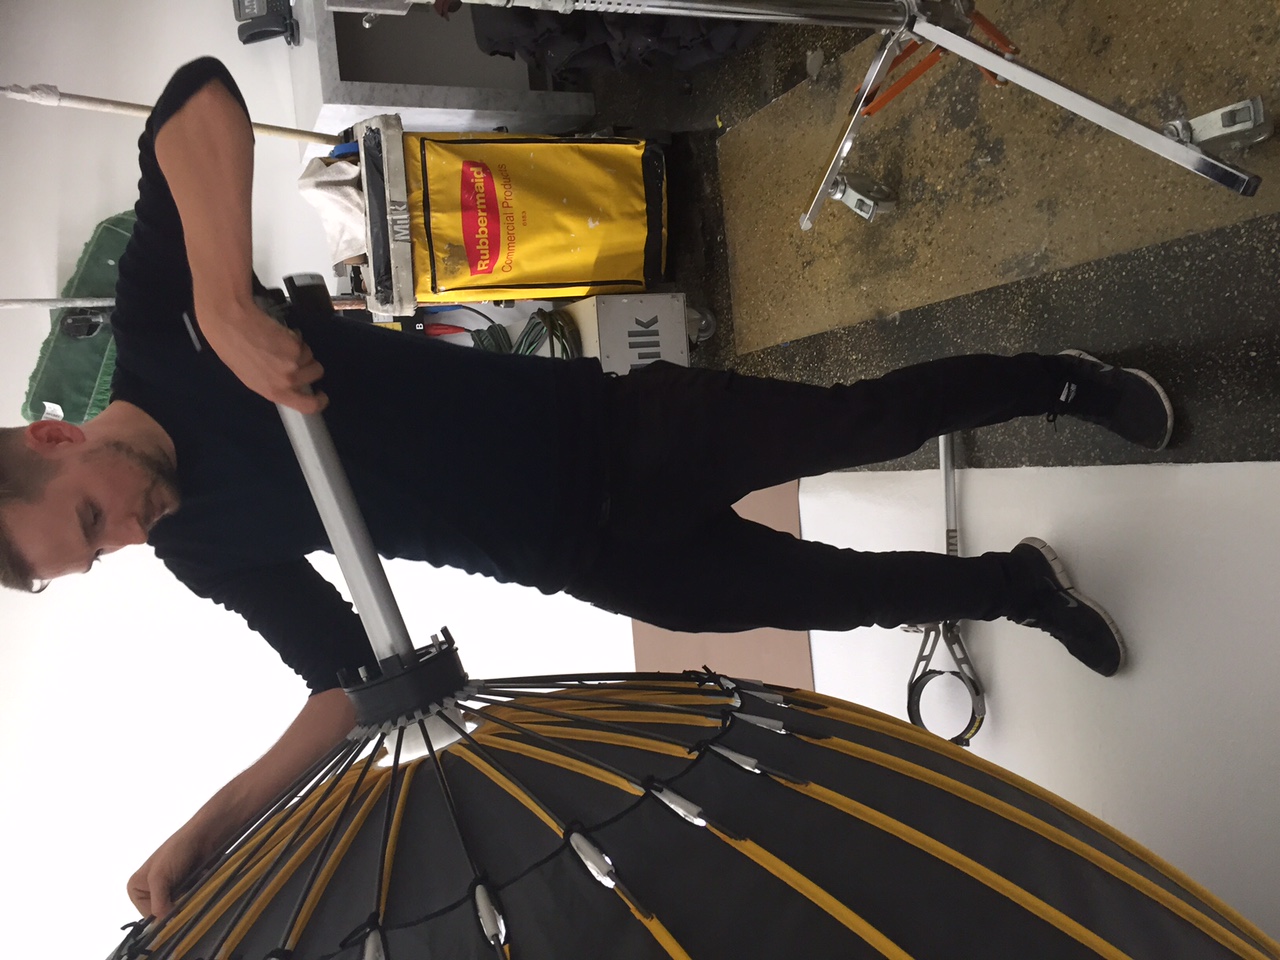
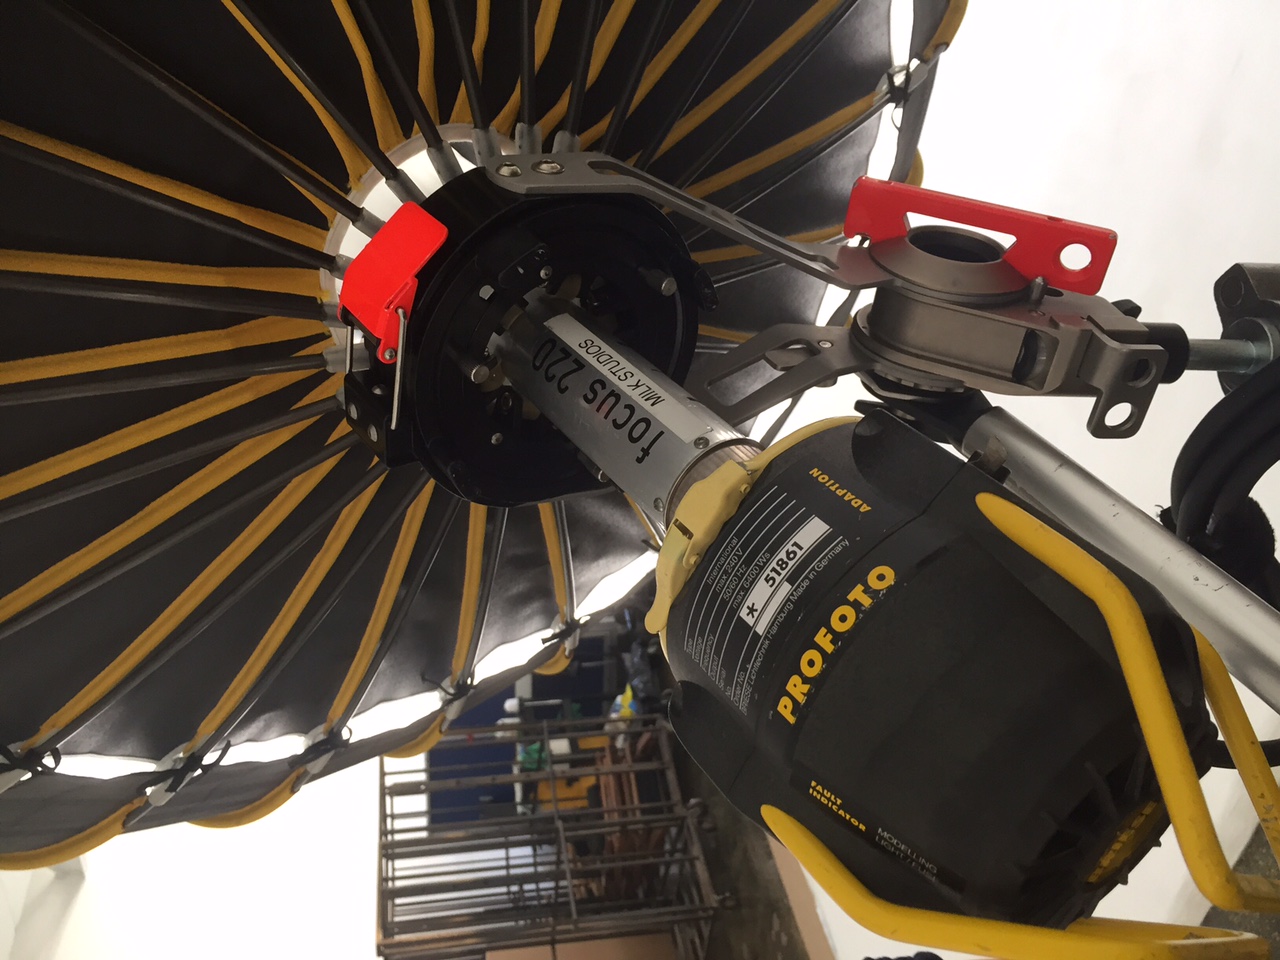
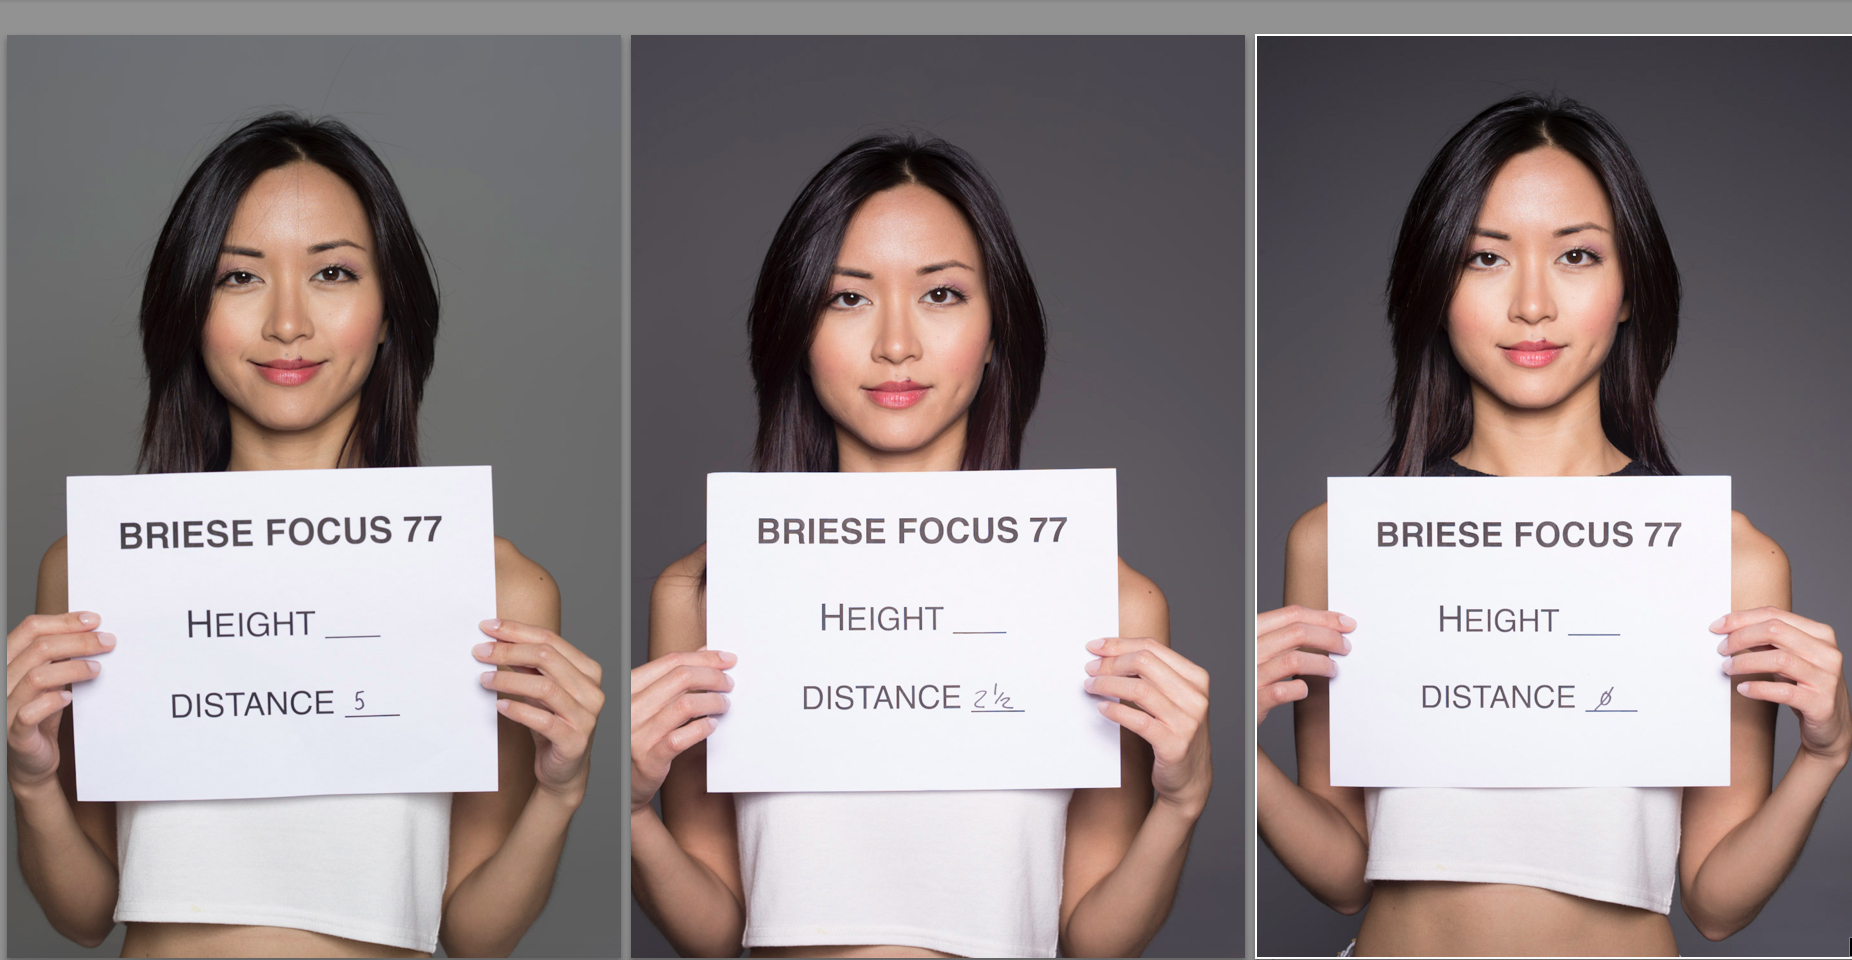
Pre-production is probably the most important aspects of any photo shoot, and the bigger the shoot, the more important pre-production is. Whenever I mention this in a seminar or workshop someone always says "what is pre-production?" Pre-production is the process of producing your photo shoot or putting the shot together. You have your idea, you've done your research, you have a sketch and now it's time to figure out all the elements come together to make your shoot a success. The big elements are easy to see, but it's the small details that can often become overlooked and make or break a photo shoot. Pre-production is the key to having a fantastic shoot, so make sure you go over every element and mentally walk through the steps to bring your vision to life. The more time you spend producing, the better things will be on your shoot day. If you're shooting a model, what color will her nails be? If you're shooting on a beach, how will you change lenses if it's windy? Try to think of every small detail you can and plan for your success. A key element to always have is a call sheet. No matter how big or small this will keep you from going crazy when you move to the next step.

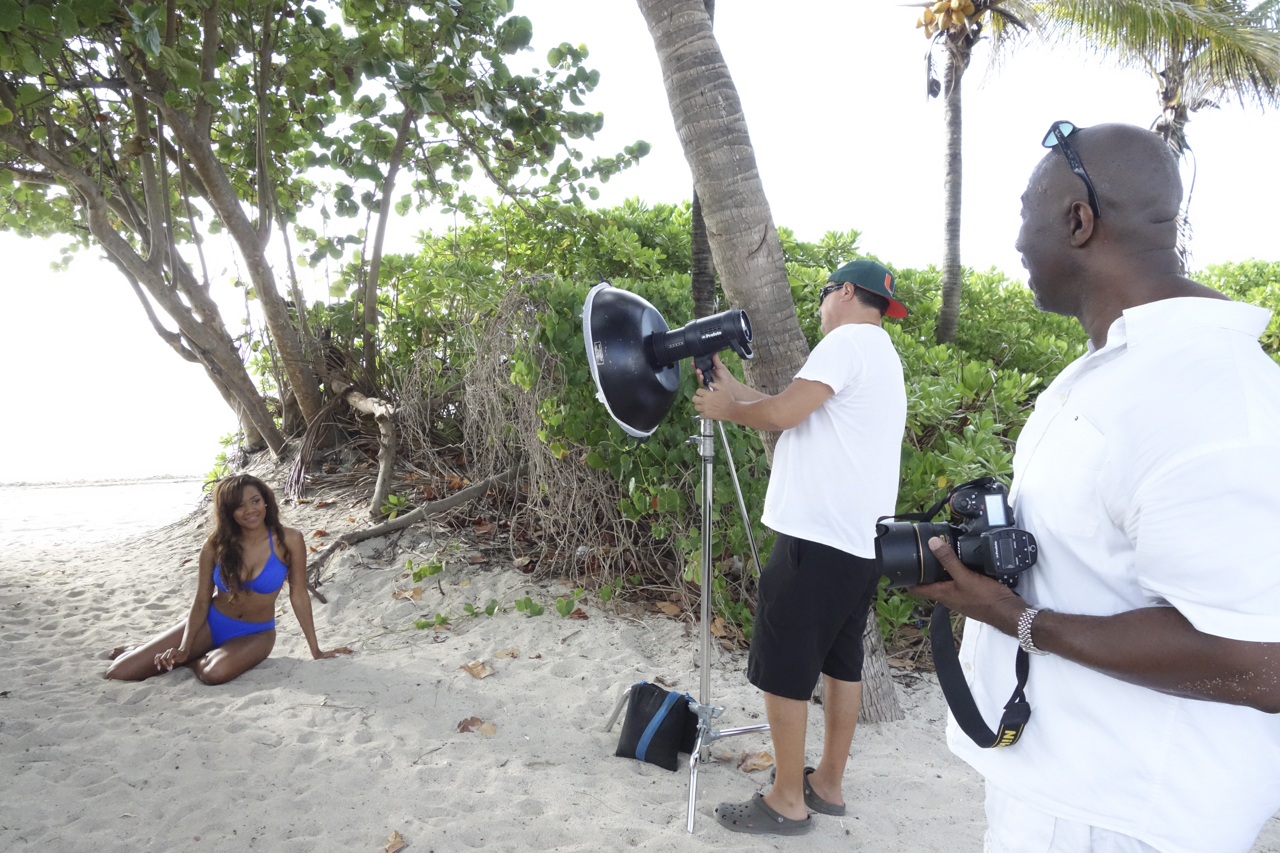
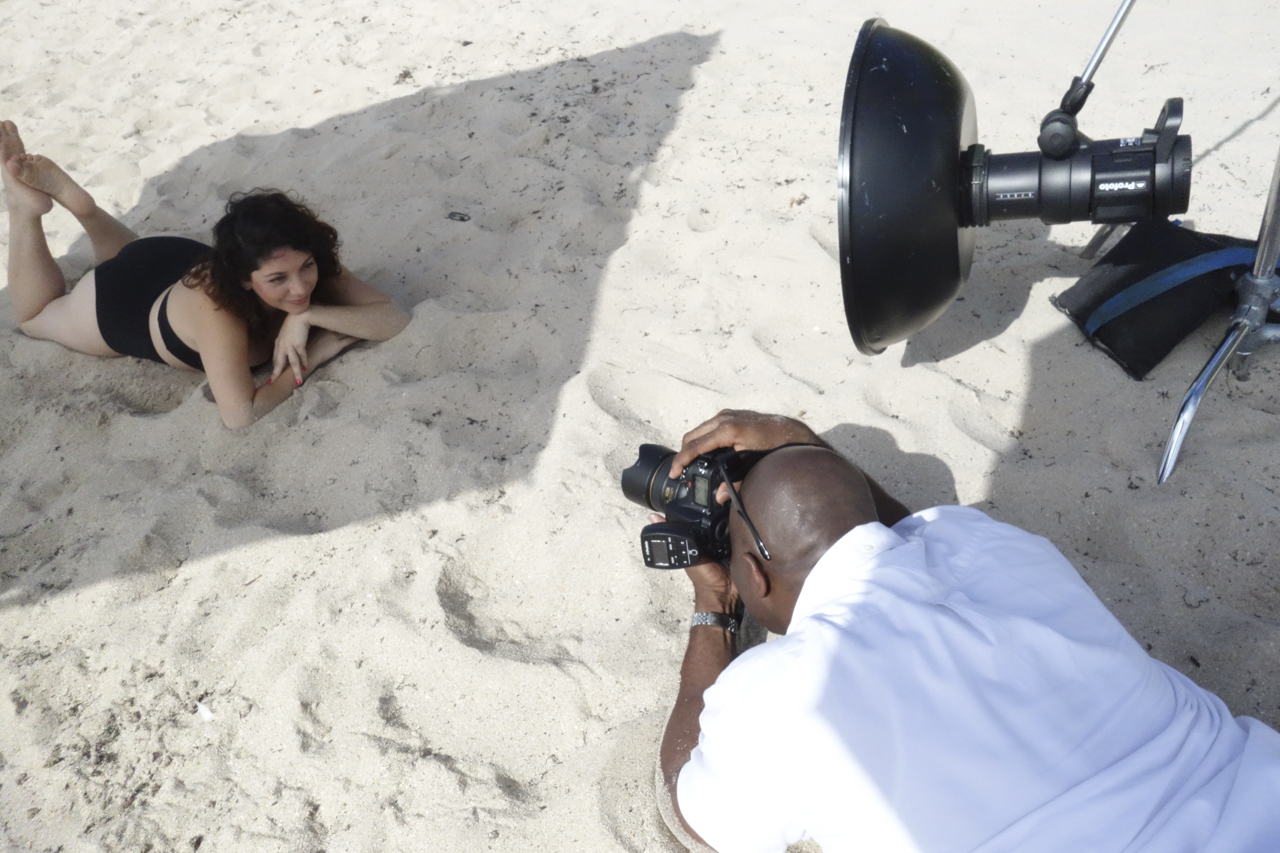
Step 5: Taking Your Picture

This is the fun part, which is why so many people want to start here, but if you skip the steps before this and jump into taking a picture you will find yourself in the same place year after year. Great pictures are rarely a mistake. Yes, there are those times when something amazing takes place right in front of your camera, but it happens more often to the photographer who is trained to create great images.

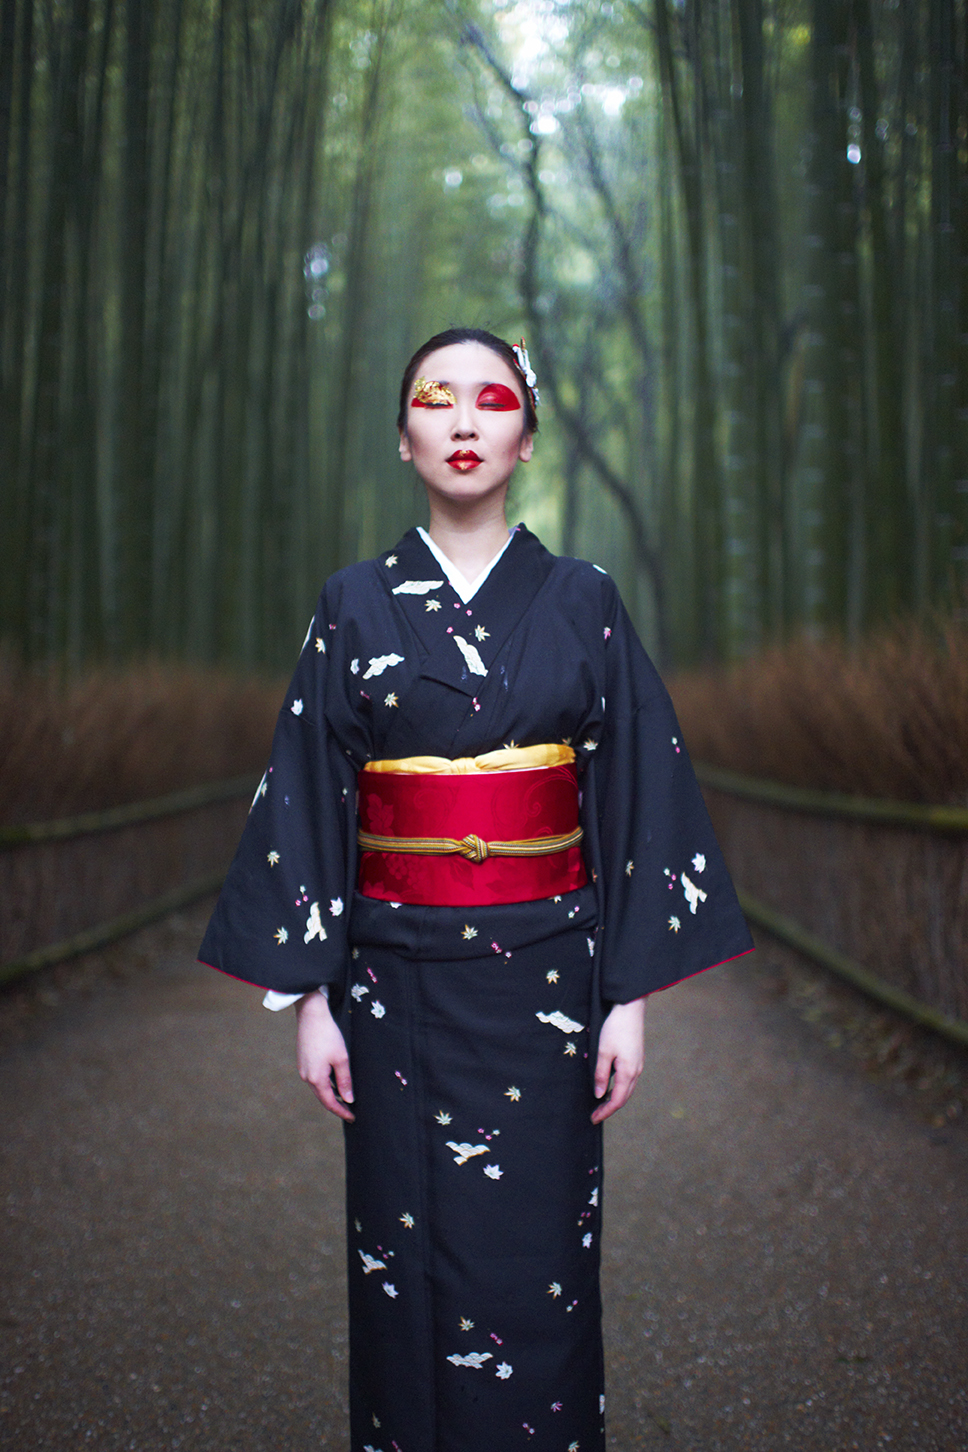
To create amazing pictures, you must think like a movie director because great pictures often tell a story and have a hero. Sometimes the hero is very obvious, like in the image of the Japanese woman in the middle of the bamboo forest. The woman is the hero of the image but the bamboo forest is the supporting cast. In the image of the Washington Monument, the monument is the hero, but the sunrise sets the mood.

Both images were planned. For the model image, I scouted a model from a Japanese agency in Osaka, Japan and had her come to Kyoto, Japan for the shoot. I talked to the makeup artist while I was still in America so we were all clear about the concept before the shoot

. For the image of the monument, I looked up the time for sunrise, went to the location the day before to find my angle and then got up and 4:00 a.m. to take my place and wait for the perfect moment. 

Step 6: Image Selection

I rarely hear people talk about how to select your images these days, but it is a very important step for the photographer looking to advance his or her career. You can take a thousand images, but it takes a trained eye to be able to select the perfect shot to show the world. Here's the tricky part. Sometimes the best image to show is not the best image from your shoot. I know, this sounds confusing, but you only want to show images to fit your brand. This took a long time for me to grasp, but it made the most significant difference in my work.

Step 7: Post Production

Another question I am asked all the time is, "do you retouch your own images?" There are a lot of great photographers who love doing their own retouching, but I am not one of them. The less time in front of a computer means the more time I can spend with a camera in my hands. Knowing when to delegate is an important part of making a great image. Like a great director, you need a great team. The best retouchers are those who spend every waking moment retouching. I send my images to a retoucher with instructions on how I'd like to make adjustments and we go back and forth until I have exactly what I want.

If you'd like to see how these seven steps relates to a shooting a fashion & beauty story, you can get the FREE VIDEO by clicking the link below. Have fun shooting, and always dream big.

Big Giveaway This Monday

This Monday I will give away a FREE video on photographic lighting. Whenever I speak or give a workshop, it seems the majority of questions asked are related to lighting, so I've decided to share as much information as possible to help others become better photographers.

Starting Monday, I will share a FREE video that shows tens ways to use one light source. To receive the video just sign in with your email and you'll receive the video.

Have a great weekend!


Always dream big!

Lighting On Location In Miami

I have shot a zillion times in Miami during the course of my photography career, but never during the summer months. This week I was in Miami for a shoot on the beach and I now know why I've never been to Miami in the summer months. It's HOT!

To combat the heat, we started our day early to try and avoid the hottest part of the day. I scouted the location for the shoot the day before and felt good about it. Miami beaches are crowded during the summer so it took a lot of searching to find a location that was less popular and offered everything I wanted. My assistants who were local to Miami had never been to the location and were surprised to see it.

Having control of the light while working on location calls for planning ahead. Before leaving Los Angeles, I spoke with my assistants and went over the equipment list together. I planned to use the Profoto B1 strobe heads with a white beauty dish as my main source of light, but I also needed to block out the natural sun and protect my Nikon camera lens from any flare. We completed our equipment list and then made sure to include backup gear just in case.

When shooting in humid conditions you need to be aware of condensation on your lenses. I normally try and wrap my lenses in towels the night before and place them in the warmest part of my hotel room, which is usually the closet. This time I knew we had time for the lenses to adapt to the environment while my talent was in hair and makeup. The first thing my assistants did was to open the camera case to let my Nikon camera's adjust to the extreme humidity. We pulled the lens caps off and let them breath for about 20 to 30 minutes as we set up the lights for the first shot.

Throughout the morning, we moved from location to location, but before I started shooting, my crew and I walked around and I showed them where I wanted to shoot each image. This gave them time to think and prepare for each shot before I started shooting. 

Whenever I'm shooting on location I try to have black flags on hand to block my camera lens from flare. My assistants make sure as I move around that the flag moves with me to block any sun from coming into the lens. 

I'm looking forward to the next location shoot this month and sharing images from the trip. Until then, have a great week and keep shooting.

Always Dream Big


How To Master Strobe Lighting

Taking consistently beautiful photographs in studio is a skill and not to be taken lightly. I recently read a photography forum where someone said they watched a shoot during a seminar and then set their camera up with the same settings but still couldn’t get the same results. He went on to say he had the same camera and the same lens, but his images just didn’t have the same look. He ended by asking what was he doing wrong.

I hear conversations like this often since the world turned to digital photography. Photography is much easier now (and the learning curve is not as steep) but you still need to master the craft in every way. This means you must learn about lighting, composition and all the other elements that make a great photograph. If you want to work as a professional photographer it’s not enough to say, “I only work with natural light.” You can only get away with that for so long.

Learning how to use strobe lighting takes time and effort. It’s not always fun doing the necessary light tests needed to master light, but once you put the time and effort into it you’ll be rewarded with consistently beautiful images in studio and on location.

This week I wanted to try a light modifier that I’ve never used before. I’ve used a similar modifier for years, but I know each light has its own distinct look. Before I can use it on a job I need to test it out and see how it looks.

Milk Studios, the top studio in Hollywood, was gracious enough to let my assistant and I come in and take the light for a test drive. They showed us how to properly set the light up and how to use it with my preferred strobe system, Profoto strobes. As we conduced the light test we did a live broadcast on Periscope.

Light modifiers: Briese Focus 220 and Focus 77 with Profoto strobe system

Camera: Nikon D4s with 85mm lens

Results below

Bare Head with the 220 focus tube shot flood, half way and spot.

Bare Head with the 220 focus tube shot flood, half way and spot.

220 focus tube with 1/3 net and focus tube shot flood, half way and spot.

220 focus tube with 1/3 net and focus tube shot flood, half way and spot.

220 focus tube with full net and focus tube shot flood, half way and spot.

220 focus tube with full net and focus tube shot flood, half way and spot.


Briese Focus 77 with Profoto strobe system

Bare head Focus 77 with focus tube shot flood, half way and spot. 

Bare head Focus 77 with focus tube shot flood, half way and spot. 

Focus 77 with 1/3 silk shot at flood, half way and spot. 

Focus 77 with 1/3 silk shot at flood, half way and spot.


Focus 77 with full silk shot at flood, half way and spot.

Focus 77 with full silk shot at flood, half way and spot.

This test was helpful in many ways and much easier than in the film days. With film, if you made a mistake it was a pain to correct. If you make a mistake with digital you just erase one image.

It's important to keep track on what you're doing with every step of the lighting test. You can do as many variations as you'd like, for example you can change the distance from the light to the subject and do exactly the same series of tests you see here. It's totally up to you how extensive you'd like to be. If you notice we didn't fill in the height on this test, as I didn't think it was necessary for this particular light test. If we were testing a beauty dish out however, the height would be a factor.

To learn more about lighting check out the following video tutorials:

 Ten Ways To Use One Light Source

How To Work With Complex Lighting Situations


Always dream big...and test your lights.