Taking consistently beautiful photographs in studio is a skill and not to be taken lightly. I recently read a photography forum where someone said they watched a shoot during a seminar and then set their camera up with the same settings but still couldn’t get the same results. He went on to say he had the same camera and the same lens, but his images just didn’t have the same look. He ended by asking what was he doing wrong.

I hear conversations like this often since the world turned to digital photography. Photography is much easier now (and the learning curve is not as steep) but you still need to master the craft in every way. This means you must learn about lighting, composition and all the other elements that make a great photograph. If you want to work as a professional photographer it’s not enough to say, “I only work with natural light.” You can only get away with that for so long.
Learning how to use strobe lighting takes time and effort. It’s not always fun doing the necessary light tests needed to master light, but once you put the time and effort into it you’ll be rewarded with consistently beautiful images in studio and on location.

This week I wanted to try a light modifier that I’ve never used before. I’ve used a similar modifier for years, but I know each light has its own distinct look. Before I can use it on a job I need to test it out and see how it looks.
Milk Studios, the top studio in Hollywood, was gracious enough to let my assistant and I come in and take the light for a test drive. They showed us how to properly set the light up and how to use it with my preferred strobe system, Profoto strobes. As we conduced the light test we did a live broadcast on Periscope.
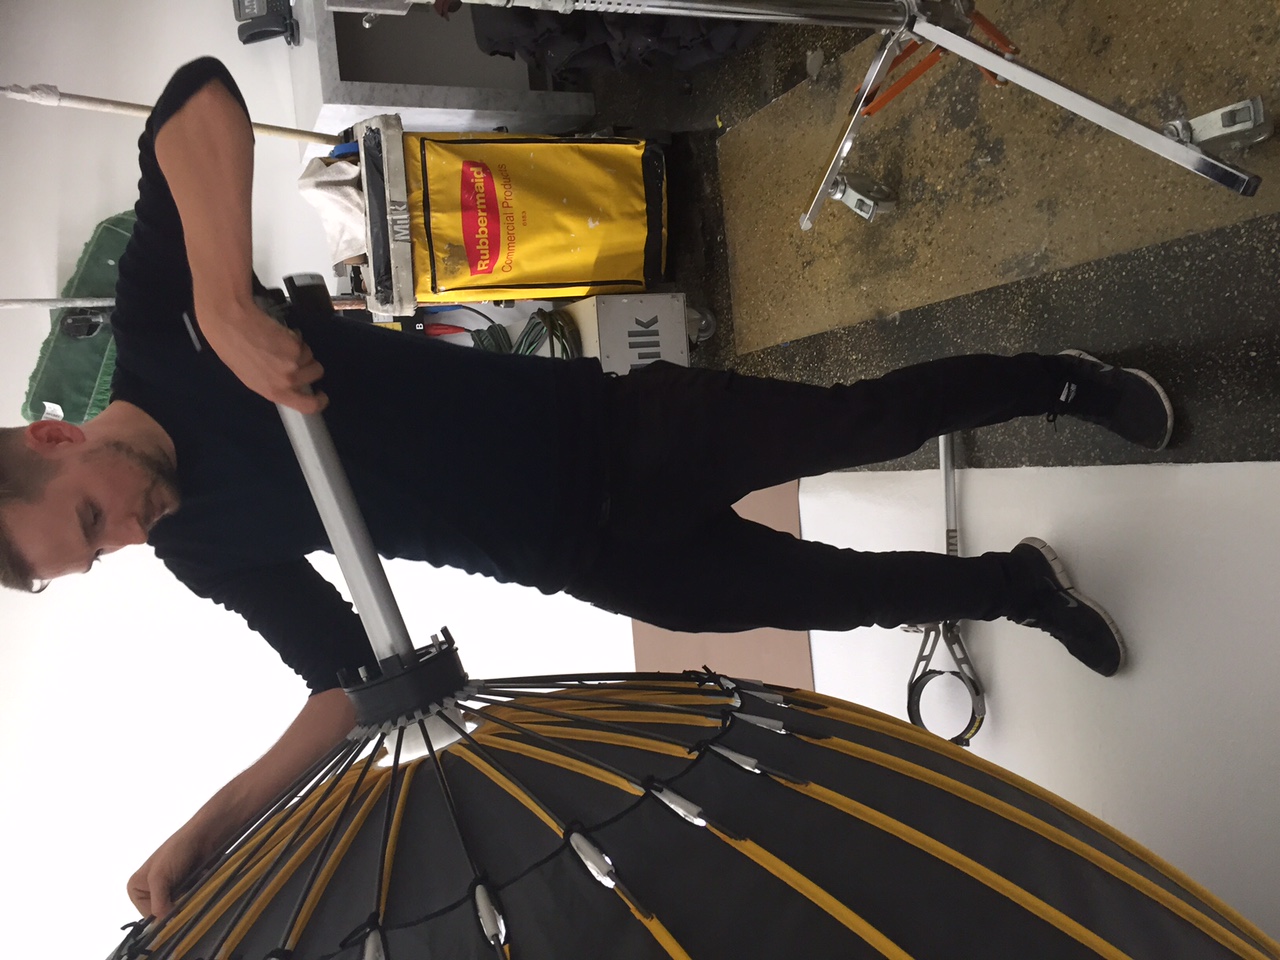
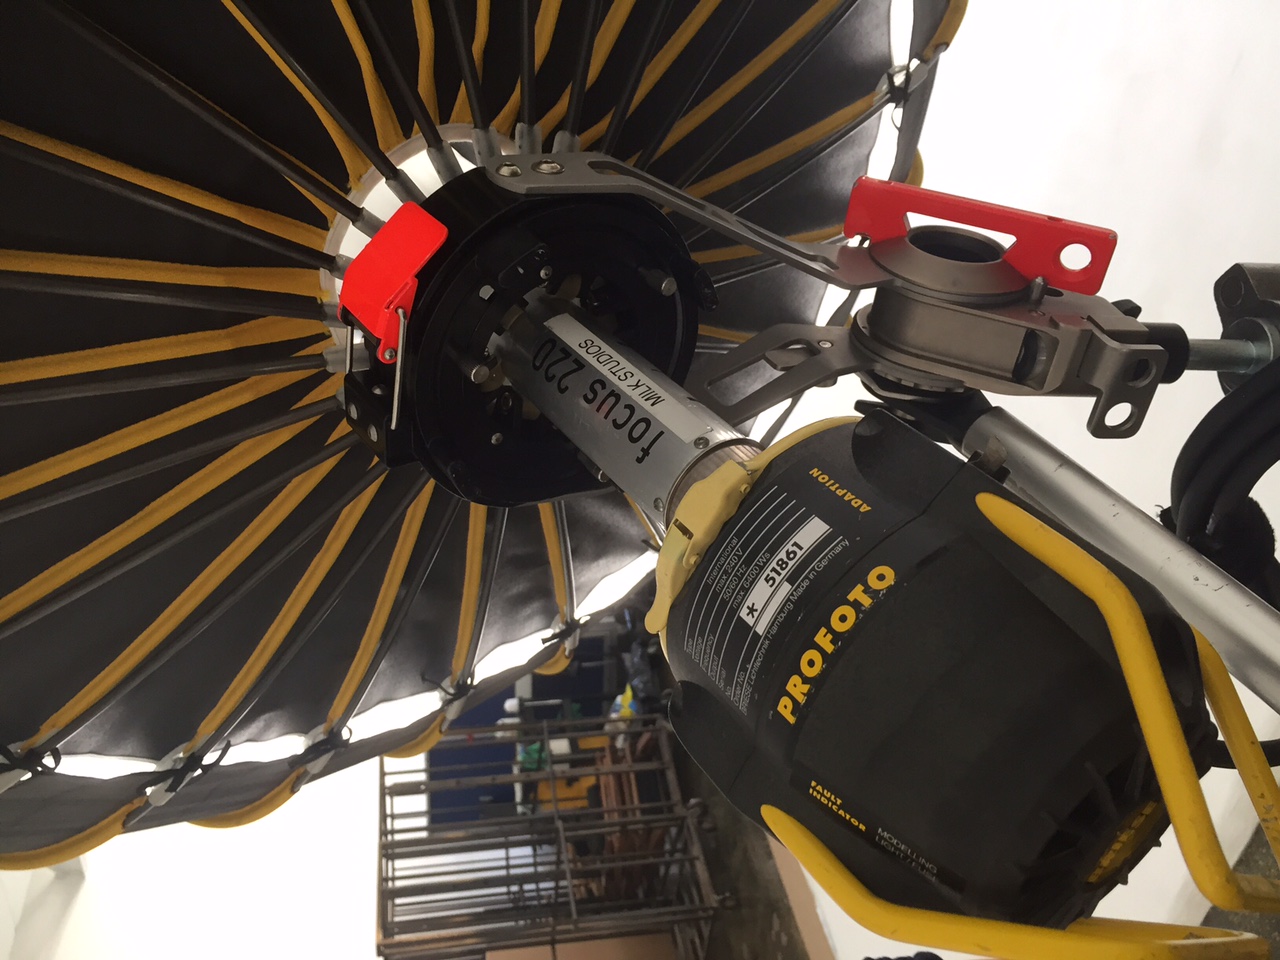


Light modifiers: Briese Focus 220 and Focus 77 with Profoto strobe system
Camera: Nikon D4s with 85mm lens
Results below

Bare Head with the 220 focus tube shot flood, half way and spot.

220 focus tube with 1/3 net and focus tube shot flood, half way and spot.

220 focus tube with full net and focus tube shot flood, half way and spot.
Briese Focus 77 with Profoto strobe system
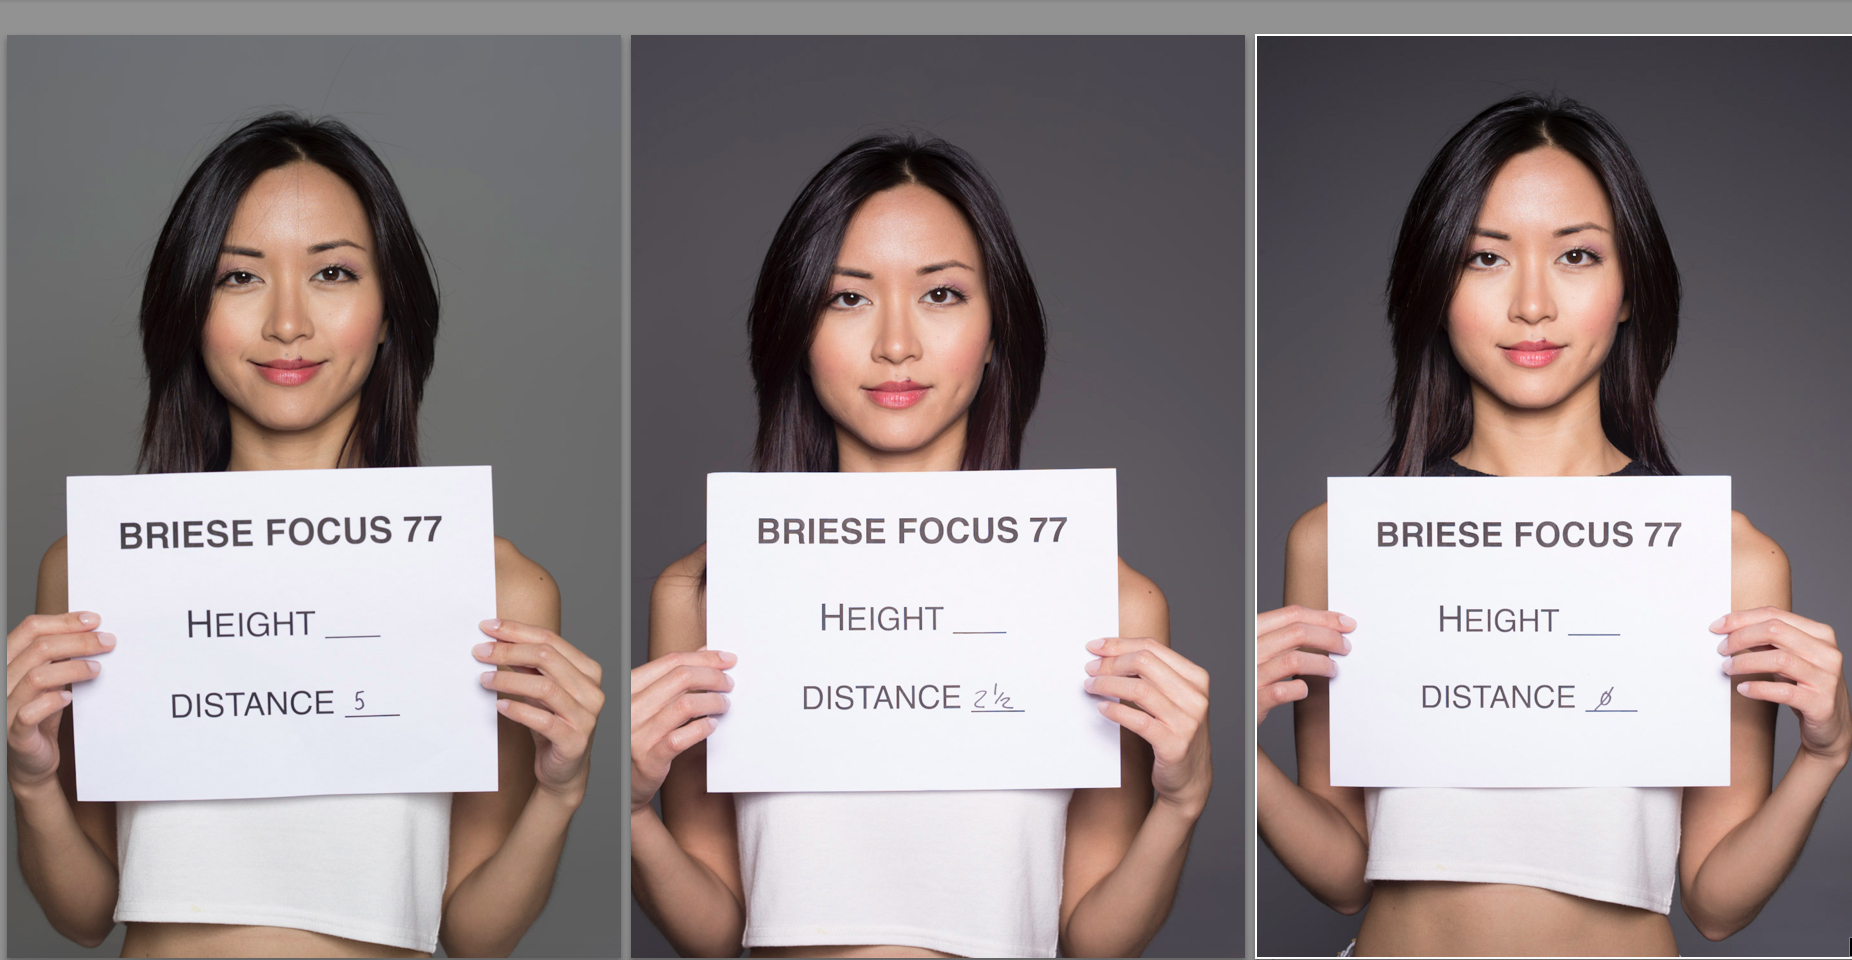
Bare head Focus 77 with focus tube shot flood, half way and spot.
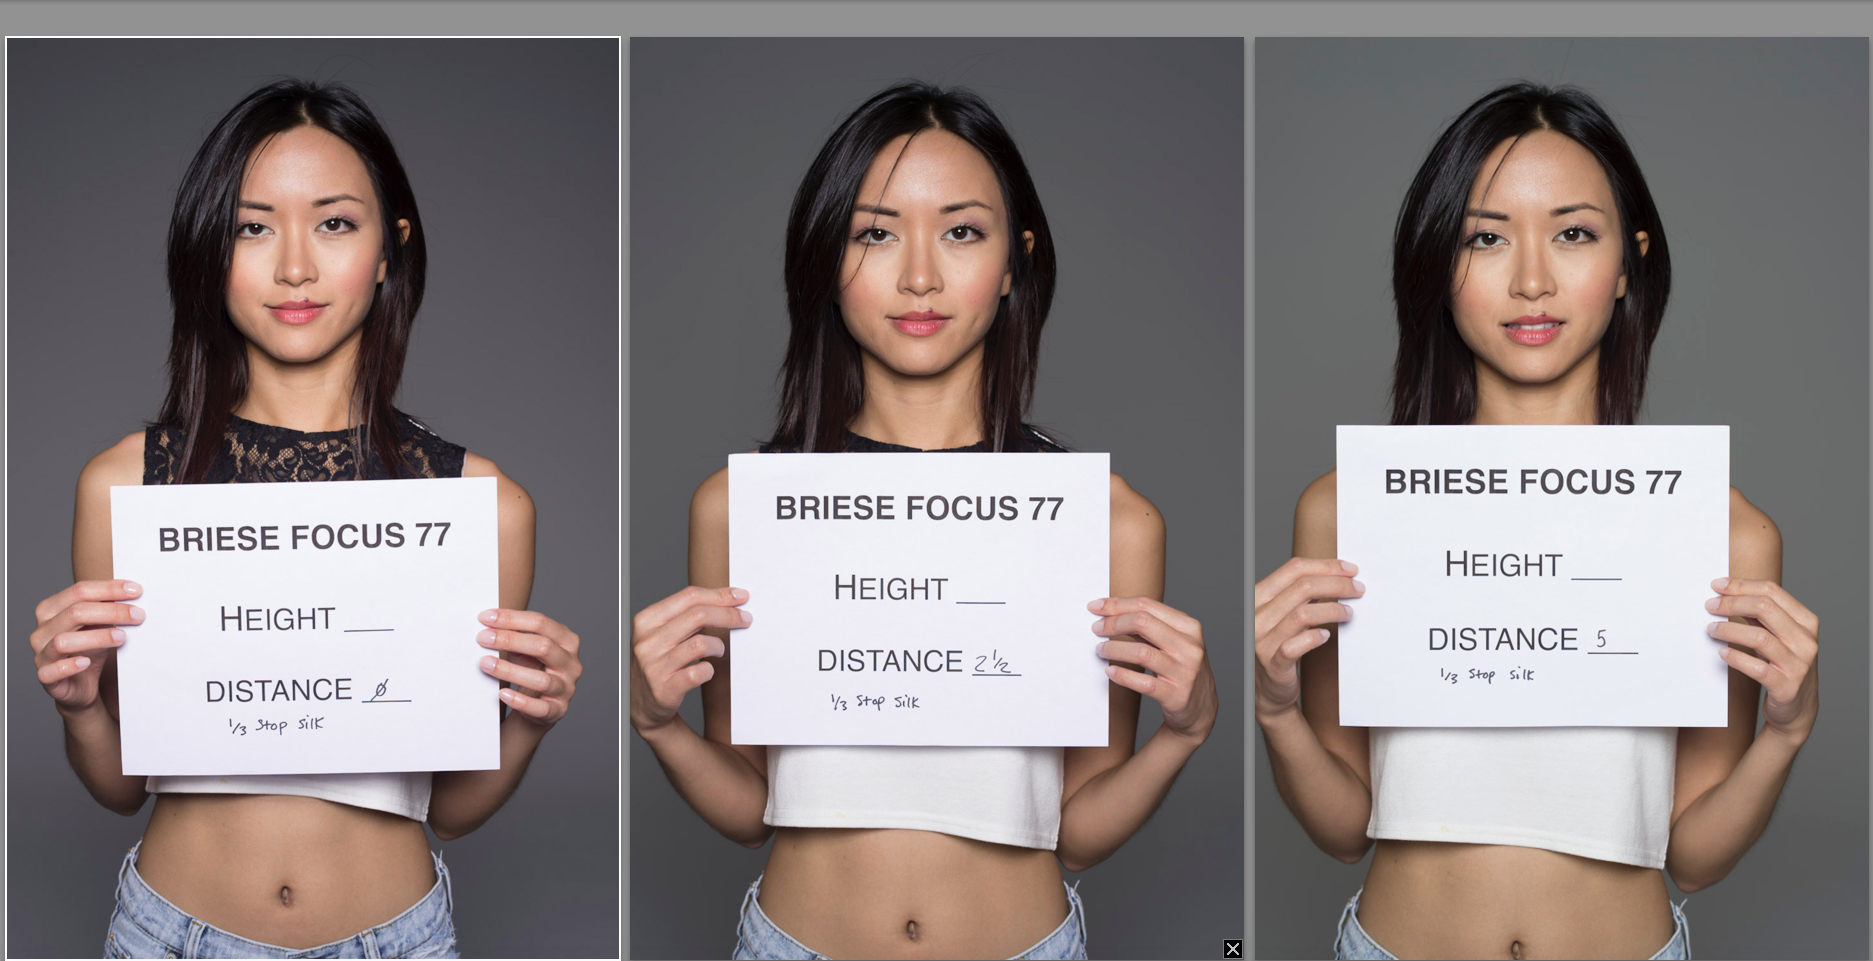
Focus 77 with 1/3 silk shot at flood, half way and spot.

Focus 77 with full silk shot at flood, half way and spot.
This test was helpful in many ways and much easier than in the film days. With film, if you made a mistake it was a pain to correct. If you make a mistake with digital you just erase one image.
It's important to keep track on what you're doing with every step of the lighting test. You can do as many variations as you'd like, for example you can change the distance from the light to the subject and do exactly the same series of tests you see here. It's totally up to you how extensive you'd like to be. If you notice we didn't fill in the height on this test, as I didn't think it was necessary for this particular light test. If we were testing a beauty dish out however, the height would be a factor.
To learn more about lighting check out the following video tutorials:
Ten Ways To Use One Light Source
How To Work With Complex Lighting Situations
Always dream big...and test your lights.